We, gardeners, have a misconception that winter means we pause our work and every day feel disappointed by not doing our favourite activities with soil and plants. In my early days of gardening, I also suffered from this misperception for the first couple of years.
But with the increment in experience and learning from some old-school gardeners, I now know there are some crucial things that I can do in the winter. Are you curious?
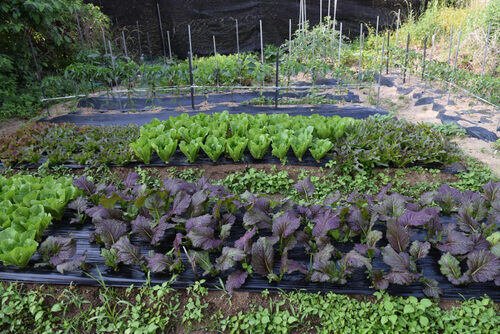
I want to draw your attention to building soil over winter for amazing vegetables in spring. This approach not only allows you to feel bored in the freezy season but also lowers your workload in the spring. In this blog, I detail how I build the soil in the winter. Let’s check out.
Benefits of Building Soil in Winter for Vegetables in Spring
The following benefits of soil building during winter will make you understand the importance of this action.
- As you prepare the soil in advance, the compost and other ingredients will integrate with the soil particles effectively. Ultimately, you will get well-structured soil in the spring.
- Cover cropping and mulching in the winter triggers weed suppression.
- By nurturing the soil in the winter and using it in the spring, you allow beneficial microbial activity. In this way, you create a resilient environment that obstructs pest population growth.
- The early preparation of soil reduces pressure on water use during the spring.
- Finally, building soil in the winter contributes to the long-term sustainability of the garden soil.
5 Secret Techniques to Build Soil Over Winter for Spring Vegetables
The below-listed techniques are my personal favourites. You might be familiar with the conventional version of these techniques. Here, I inform you of my own secrets that modify the process a bit while enhancing the soil building’s effectiveness.
Cover Cropping
The following step is to cover cropping.

Step 01: First, you have to choose a certain cover crop based on your area’s climate and soil type. Incorporate the table below to select the most appropriate one.
| Cover crop type | Soil type | Weather |
| Barley | Clay loam | Moderate cold |
| Ray | Heavy clay or light sandy soil | High cold |
| Winter Pea | Light loamy soil | High cold |
| Crimson Clover | Well-drained soil | Moderate cold |
Step 02: Now, decide on the spring vegetable bed’s location. After that, loosen the soil a little bit and remove debris, dirt, and any unwelcome materials.
Step 03: It is time to use the cover crop seeds. As per the recommended seedling rate, the case is an appropriate number of seeds. For instance, winter ray’s seedling rate is 70-130 lbs. per acre and raygrass’s seedling rate is 22-55 lbs. per acre.
Step 04: Rack the soil very lightly so that the contact between seed and soil becomes solid. Water the whole bed.
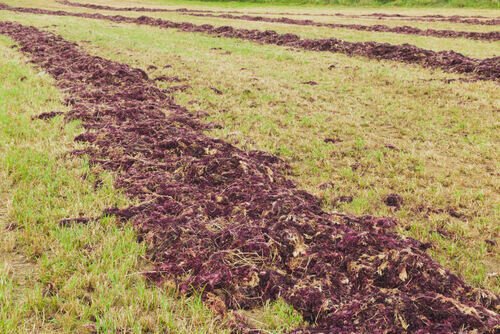
Step 05: Monitor the growth. In the early spring, crop down the cover crop and let them decompose so the spring vegetable bed’s soil becomes healthy and nutrient-saturated.
Mulching
You can mulch to build the soil for spring vegetables in winter. Below is the process to do that.

Step 01: Collect organic materials like straw, leaves, or compost. You can purchase organic compost from local stores. However, I do composting in a designated portion of my garden.
Step 02: At the beginning of winter, create a 1-2 inch layer using the collected organic material on the spring’s vegetable bed.
Step 03: You must regularly water the mulch to facilitate its perfect settling. However, if the mulch layer is frozen, there is nothing you can do. Let the nature do its job.
Step 04: As soon as the ice melts, start working on the mulch layer to maintain its thickness and effectiveness.
Step 05: Now, incorporate the mulch to get high-quality vegetables in the winter.
Composting
Well, while doing mulching or cover cropping, you will have ample free time. If you want to use that time as well, I suggest you go for composting. I used to prepare organic compost during the winter so that the quantity meets the need for at least the next six months. Check out the below guidelines.

Step 01: First, you have to dig out a bin or pile in your garden. Select a suitable portion of the garden. The size of the bin or pile depends on the compost requirement. By the rule of thumbs, if the available space is limited, increase the depth of the bin or pile.
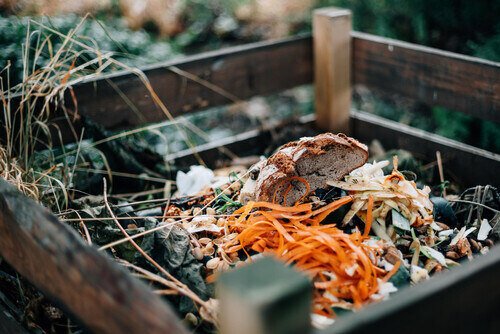
Step 02: From the start of the winter till the middle, collect and deposit the kitchen waste, yard waste, and other organic materials. In the deposition process, the best trick is to follow the staking order of two layers of green materials and one layer of brown materials. Use a plastic sheet to cover the entry of the bin after each day’s disposition work is done.
Step 03: On a regular basis, turn the depositions up and down to keep them moist while ensuring air penetration.
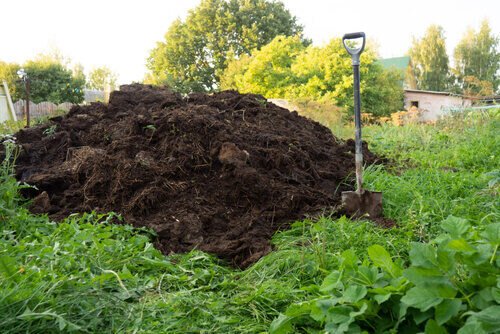
Step 04: Finally, at the start of the spring, you will get well-decomposed organic compost. Cast the compost of the designated soil beds for the spring vegetable growing.
Intercropping
It is applicable if you live in an area with very low winter snowfall. The following is the guideline.

Step 01: Select the suitable crop, considering the vegetable you are going to grow in the spring. I use cereal grain and red clover as intercrops.
Step 02: You have to collect the seeds and create rows in the spring vegetable soil bed.
Step 03: Germinate the seeds at the beginning of the winter and plant the seedlings into the already created rows. You have to finish this work within a few days after winter starts.
Step 04: Monitor the plant growth, water, etc., to ensure good growth of the intercrop plants.
Step 05: Just before the start of the spring, crop down the intercrop and let the soil incorporate with them naturally.
Green Manure
It is another best technique to build your garden’s soil for vegetables in spring. Check out the process.

Step 01: You have to select a fast-growing plant with nitrogen-fixing characteristics. You can go for plants like legumes, brassicas, etc.
Step 02: Even though you are doing soil building in the winter, you have to plant this green manure before starting the winter. I always prefer to plant these at the end of fall between December 10 and December 15.
Step 03: Monitor, water, and fertilize the plants throughout the winter season.
Step 04: These plants usually grow flowers at the end of the winter or the start of the spring. You have to crop down before it hosts flowers. To be exact, when you see only a few plants with flower buds, crop down all.
Step 05: Allow the plants to decompose on the spring vegetable soil beds naturally. The whole decomposition process takes 10-20 days. Maintain careful examination of the decomposition condition, cast the vegetable seeds, or plant the seedlings. Before this, you must ensure that the green manure releases nitrogen and other nutrients.
Final Words
I am sure that my techniques on building soil over winter for amazing vegetables in spring will help you to utilize the icy season effectively. I suggest you go for composting plus any particular soil-building technique.
Finally, if you have a large garden, you can do the composting for the whole year. It will help you to restrict boredom in the winter while allowing ample time availability in the other seasons that you can use to perform another gardening-related task perfectly.


