Indeed, like me, every other gardener does not go for the same veggie every session. Even if we go for the same vegetables and fruits in the next season, the harvested plants must be cared for.
For instance, you will notice your tomato plant is not looking alive or there is a lack of freshness in the leaves and body parts after the plant passes the season. Undoubtedly, the tomato plants can produce fruits, but I will not enjoy that production. Following this, cleaning up the whole veggie garden and starting afresh is crucial to getting a good yield in the next session.
Starting a fresh veggie garden is an exciting job; I enjoy it very much. Here, I will detail my process of how to clean up and start new veggies in your plants.
Why Clean the Old Veggie Garden Plants
The following points will make you understand the need to clean the old veggie plants or, better to say, the whole veggie garden.
Soil Improvement
Well, do you think after a season when the harvest is done, your vegetable garden’s soil still has the same level of fertility? The answer is obviously a ‘no.’
The spent plants already have used the nutrients, and the soil needs a nutrient boost to produce healthy and fresh fruits and vegetables. So, you need to clean up the old plants to prepare the soil for the new plants.
Pests and Disease Prevention
The harvested plants and the respective portion of the vegetable garden lost their resistance capacity to fight against pests and diseases.
The dead, old, and decaying plants host diseases and pests that can easily infect your new crop. Fungal spores, bacteria, and insect eggs all stay on the decaying plants’ leaves, branches, foldes, branch joints, etc.
When you start with the same vegetable plants in the new season, those start to spread. Also, the cleanup of the old vegetable garden breaks the pests’ lifecycle and destroys their capacity to harm the new plants.
Enhancing Garden’s Look

You cannot deny that the look of your garden with spent plants is not that appealing and sometimes disappointing. So, to improve the aesthetic appeal of your garden and the house’s exterior, you must get rid of those old plants and grow new ones.
Supporting Different Vegetable Needs
As per my experience, growing and consuming the same vegetable in every session is boring. To import variety in the taste, it is essential to go for new vegetables.
It requires cleaning up the old veggie garden and starting the growing process of the new vegetables.
Continuous Production
Cleaning up the old veggie garden and growing new plants provide the opportunity to get a continuous supply of fresh vegetables. However, in this case, you have to perform a regular cleaning job.
To ensure that your garden produces a steady supply of fresh fruit and vegetables, you remove any unhealthy, decaying, or low-yielding plants and begin planting new ones.
A Step-by-step Guide to Cleanup Old Veggie Plants
In this case, you have two options: cleaning the whole veggie garden or cleaning up certain vegetable plants.
Cleaning Up Certain Plants
Follow the below-listed processes.

- Step 01: Cleaning up a certain amount of plants is an easy process. You start with careful observation of those plants. You check each one’s condition one by one.
- Step 02: Upon finding any unhealthy or decaying plant, you extract that one.
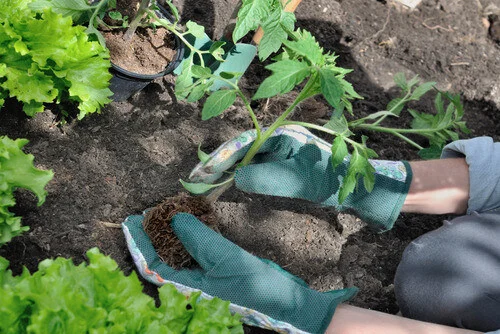
- Step 03: You cast compost and sow the new seed or plant the new seedling as per replacement of the old plant.
I believe you can use this approach if the garden is very small and has limited vegetable types and plants.
Cleaning Up Whole Old Veggie Garden
Here is the stepwise guide to clean up the whole old vegetable garden. This approach is suitable if you have a full of annuals within a certain space of the garden.
Step 01: Preparation
Arrange the necessary tools and items listed below:
- Garden gloves
- Shovel
- Spade
- A rake
- A garden cart
- Compost bin or bag
- Hose pipe with water connection
Step 02: Removal of Spent Plants
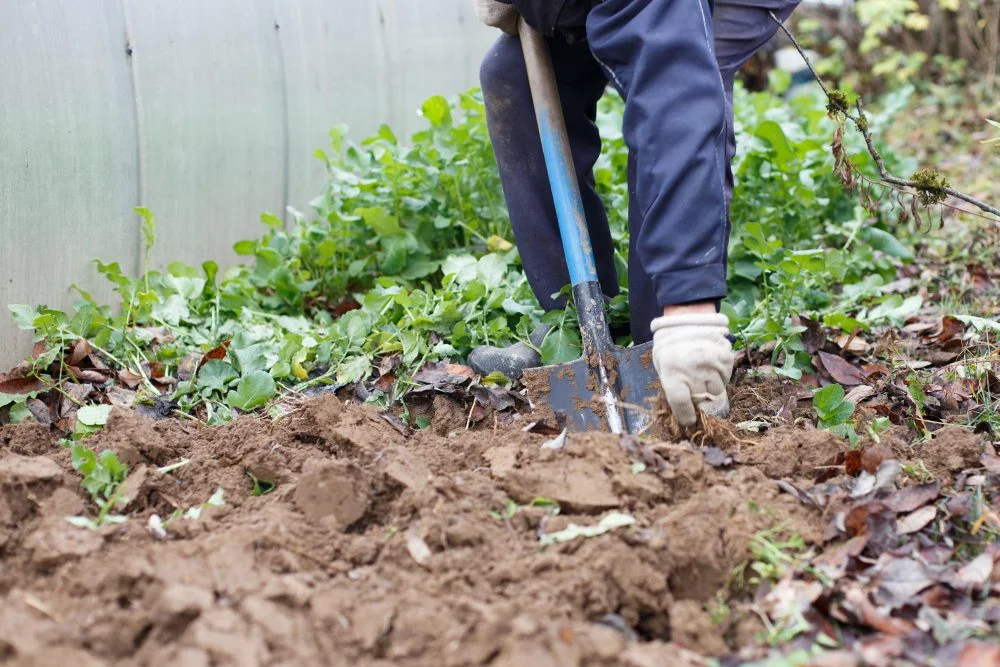
Now, you examine the plants’ conditions. Using a hand or the spade, you pull out the problematic ones and place them in the trash bin.
On the contrary, you will see some of the plants are still healthy and in excellent condition. You can extract them to use as compost or replant them with the new batch.
Step 03: Taking Care of Weeds

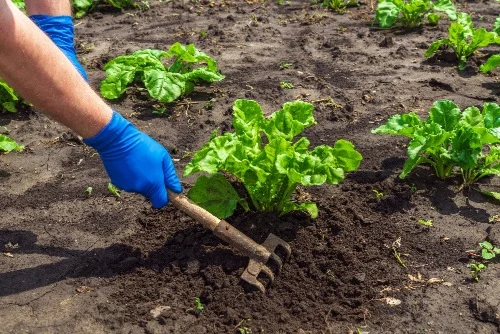
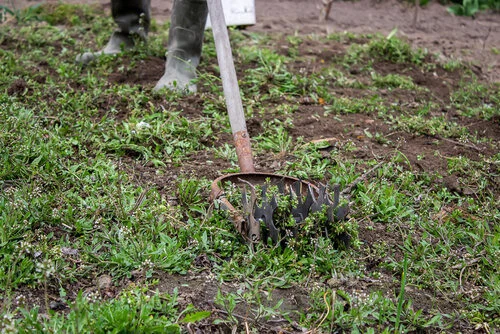
Pull out the weeds by hand so the roots come out from the deeper part of the soil. If the quantity of weed is substantial, you can use the rack. But still, to deal with the stubborn weeds, you have to use your hands. So, now the space is weed-free.
Step 04: Get Rid of Old Mulch and Debrish
Use the rake properly and multiple times to remove the old mulch and the organic debris from the soil bed. Dispose of the old mulch, debris, etc., appropriately.
However, I would like to mention that raking will help destroy the hiding places of the pests, and it will also destroy the eggs of the pests.
Step 05: Preparing the soil
This step has some sub-categories.
- Using your hand, extract stone chips, any solid waste element, etc.
- Now, ensure the 2-5 inches of soil is loose enough as per standard requirement.
- Add compost and well-rotted manure to the soil. I suggest you create a 2-3 inch layer of the manure.
- By using a garden fork, turn the soil. It will assist in incorporating the mixing of the organic matter perfectly and remove the compactness of any portion of the soil bed.
- Test the soil pH level. Add eggshells, baking soda, wooden ash, etc, to enhance the pH level. Use elemental sulfur to decrease the soil pH.
Finally, you have cleaned up and made ready the space for the new veggie plants.
Stepwise Guide to Plant New Veggies
The following are the steps.
Step 01: Plan Your New Veggie Garden
First, you need to choose vegetables that are suitable for the upcoming session. Also, you must consider crop rotation needs while selecting the veggie categories.

Step 02: Preparation for Planting
Set up an irrigation system for the selected vegetable type. Install support structure, casing, fencing, etc., if needed.
Now, plant the new vegetables by following the appropriate process in terms of maintaining plant-to-plant and row-to-row distances.
Step 03: Mulch and Cover Crop
Apply a layer of fresh mulch to keep the moisture level at an appropriate level. It is also highly effective for weed suppressing.
However, if you want to plant after a few days or the planting season has not yet started, I suggest you plant a cover crop. The cover crop will improve the health of the soil.
Step 04: Finishing
Clean the tools and keep them in appropriate storage space. Also, you must ensure the proper disposal of the debris. Also, you should perform the below-listed tasks:
- Keep continuous monitoring of the growth of the new vegetable plants.
- Maintain appropriate watering and fertilizing depending on the veggie type.
- Take protective measures against pests and weeds.
Final Words
Cleaning up the old veggie garden and starting a new one is part of productive gardening. I hope that my guide on how to clean up and start new veggies in your plants will help you substantially. Applying the mentioned pathway will give you a fresh source of vegetables.
Additionally, this process helps to control the spread of pests and diseases. You create a clean slate that allows new vegetables to thrive by removing spent plants, weeds, and debris.


