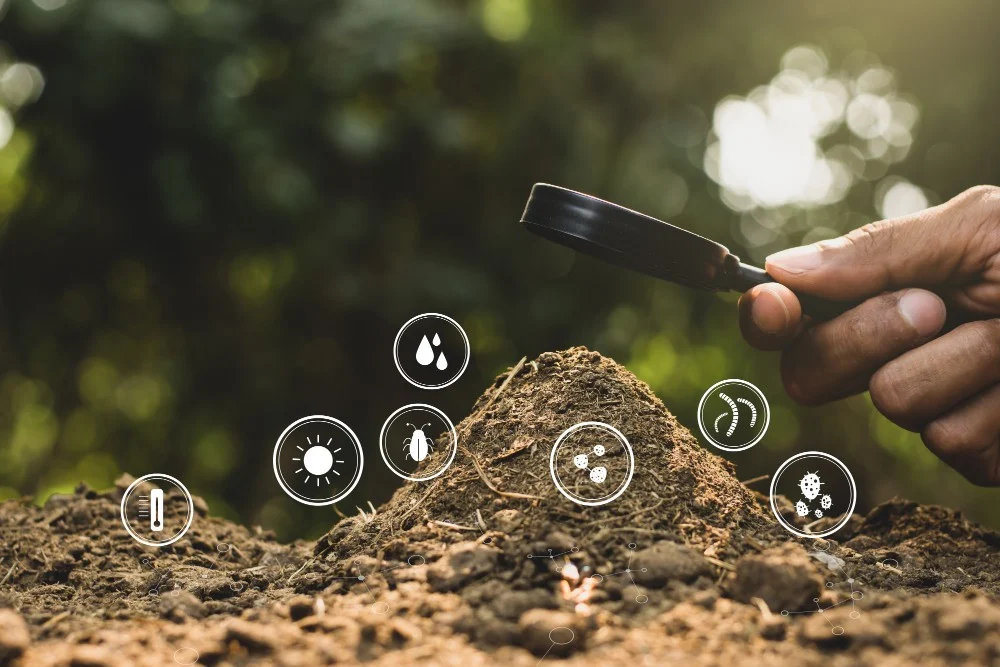
Are you tired of guessing about the health of your soil? Look no further than soil testing – the most accurate method for understanding your soil’s needs. By analyzing critical factors like texture and organic matter, soil testing provides invaluable insights into optimizing your garden or landscape.
So, what are the 4 accurate methods for soil testing? Chemical testing, physical testing, biological testing, and soil respiration testing. While three out of four testing methods require a kit, physical testing can be done without one.
In this article, I will guide you through every soil testing method. So, if you are a beginner, rest assured. I will break down each topic so anyone can perform it. Let’s start.
Method 1: Chemical Testing
The first method that I am going to discuss is chemical testing. It’s similar to going to the doctor for a routine checkup. Later on, receive a result card outlining your health.
Your plant has nutritional requirements that only healthy soil can ensure. It includes nutrients like nitrogen, phosphorus, and potassium. Let’s see how these nutrients contribute to your plant;
- Nitrogen: It helps plants produce chlorophyll, which is necessary for photosynthesis.
- Phosphorus: It is crucial for root development.
- Potassium: It helps plants withstand stress and promotes overall strength.
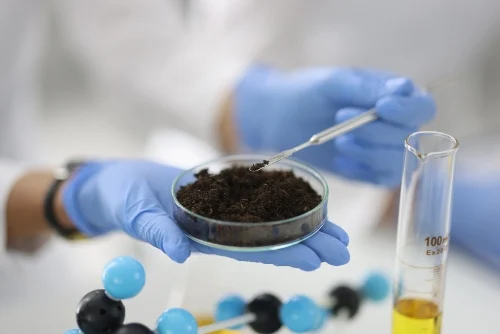
My chemical testing method can help you determine whether the soil in your garden has these essential nutrients. First, you must gather soil samples from different garden areas.
Once the soil is gathered, you have two options:
- Send it to a laboratory for analysis
- Use a DIY soil testing kit
Nevertheless, you must know that a DIY soil testing kit isn’t 100% accurate. Thus, the best approach is to send it to a professional laboratory.
After the test, you will receive the information stating what nutrients are low in your garden. If your soil lacks nitrogen, you can choose a fertilizer high in nitrogen. Similarly, you can select a fertilizer high in phosphorus or potassium if you lack them.
Method 2: Physical Testing
Physical testing of soil is like getting to know the personality of your garden’s ground. You must understand your soil’s texture, structure, and moisture content. Let’s examine every factor in detail so that you can examine soil like a pro.
Soil Texture
Just like people have different skin types, soils have different textures. Rubbing the soil between your fingers lets you tell if it is sandy, loamy, or clayey.
- Loamy soil is smooth and spongy
- Sandy soil is rough
- Clayey soil is thick and sticky
Soil Structure
Insufficient soil structure can result in compacted or wet soil. On the other hand, good structure enables sufficient drainage and aeration.
You can assess the structure of your soil by making a tiny hole in it. It is well-structured if it falls quickly into grainy bits.
Moisture Content
While moisture is necessary for plants to develop, too much or too little can be harmful. Squeezing a handful of soil can determine whether it is too moist, dry, or perfect.
Soil should ideally feel moisturized but not drenched. It’s too dry if it crumbles and feels powdered.
On the other hand, it is excessively wet if it turns into a sticky ball. Knowing how your soil is can help you adjust your watering habits to fix it.
Method 3: Biological Testing
Soil is more than simply soil and minerals; it’s living stuff! The health of plants depends on microscopic organisms. This includes organisms like fungi and bacteria that live beneath the surface.
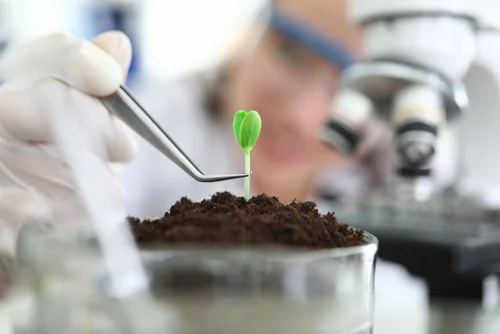
I promise you that biological testing is not the same as chemical testing, but you might think so as I go on. Nevertheless, microbial testing does overlap with some aspects of chemical testing.
Yet, microbial testing provides additional information. For example, the soil’s microbial diversity, which chemical testing may not.
How the Testing Is Done
For this method, you will need a Microbial Biomass testing kit to determine the amount of biomass in your soil. You can collect soil from different areas of your garden using a shovel.
Then, mix the soil samples thoroughly in a clean container. However, don’t forget to remove any visible debris, such as stones.
Lastly, follow the guide provided with the kit to set up the test. It mainly involves placing the soil samples in the containers. After the incubation period, use the tools provided in the kit to find the amount of microbial biomass.
Higher mass generally indicates a more active soil ecosystem. So, if you find high microbial biomass, that’s good news.
Method 4: Soil Respiration Testing
Soil respiration testing is like checking the pulse of your soil-it tells you how lively and active it is. This testing method also involves how many microorganisms are present in your soil. However, the process is entirely different.
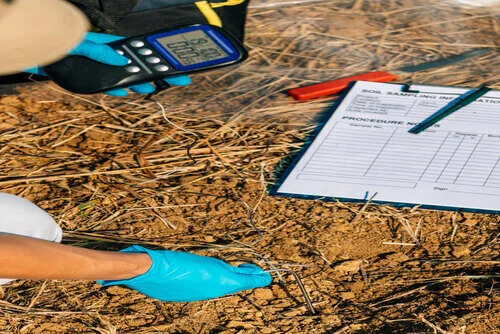
Testing for soil respiration allows you to determine how much carbon dioxide your soil releases. This is important because microbe organisms in the soil break down organic matter. As a result, releases carbon dioxide into the air.
The more carbon dioxide is released, the more alive and active your soil becomes.
Collect soil from parts of your garden using a shovel to perform the testing. Place the samples in the containers provided in the kit.
Add the solution supplied to the containers. Seal them tightly for the period mentioned in the instructions. It usually takes a few hours to a day.
After the incubation period, measure the amount of carbon dioxide produced using the kit’s instructions.
Overall, the amount of carbon dioxide released indicates how active the organisms in your soil are. More carbon dioxide means more microbial activity, a sign of healthy soil.
Wrap-Up
In conclusion, soil testing is your garden’s best friend! It gives you insights into how to make your plants happy and healthy. You can make decisions that lead to a thriving garden with the correct information about your soil’s nutrients and texture.
Out of the four methods, physical testing is my favorite. You don’t require DIY kits for this. All you need is your hands, and the accuracy increases with experience. So don’t hesitate to test your soil today and watch your garden flourish!

