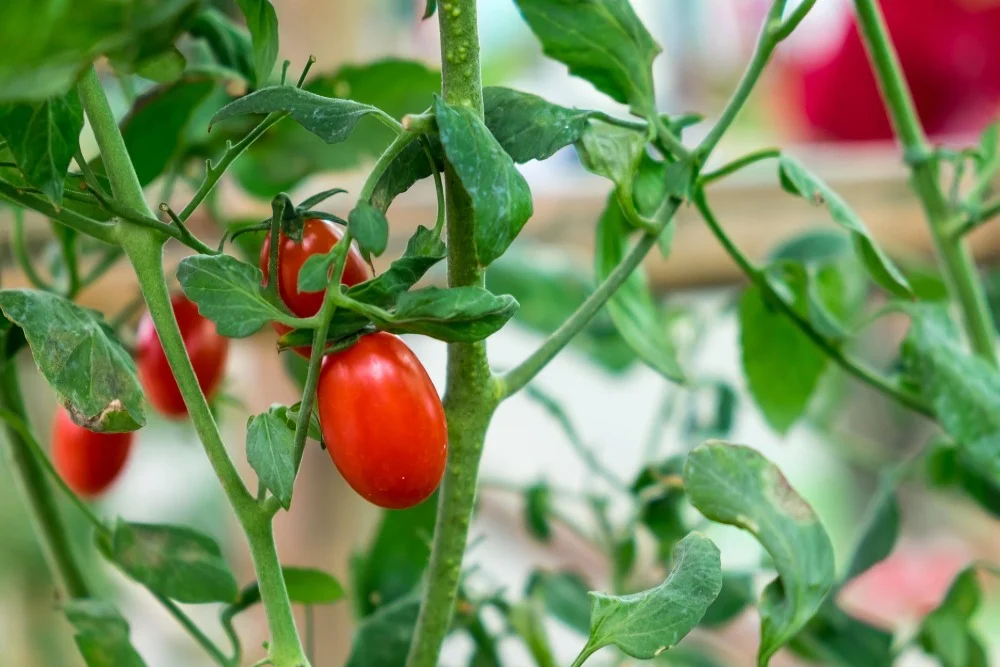
Want to get the most out of your tomato harvest and keep your garden thriving year after year? Knowing when to harvest and remove your tomato planter is vital to achieving the best results. Follow my expert tips to level up your gardening game.
So, what is the right time to harvest and remove tomato planters? For harvesting, it depends on the color of the tomatoes. The harvest indicator color is different for every tomato variety. However, for the removal of tomato plants, you should remove them when night temperatures consistently fall below 50°F (10°C).
Nevertheless, I will share my years of experience in this article. Thus, you will know all about removing tomato plants and the right time to harvest. I will share everything, from when to harvest those juicy tomatoes to removing tomato plants, with a step-by-step guide. Furthermore, I will explain what to do with those green tomatoes.
Recognizing the Ripeness of Tomato Planter: The Right Time to Harvest
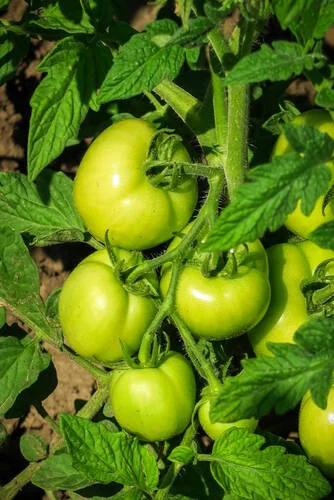
In general, the indicator that you can harvest your tomatoes is their color. Even though ripe tomatoes can be of various colors, depending on the variety chosen, each has its definitive mature color. Therefore, the critical point is to know which color is the mature indicator.
Here’s a table that names some popular varieties of tomatoes along with their ripe color.
| Tomato Variety | Ripe Color |
| Beefsteak | Red |
| Roma | Red |
| Cherry | Red |
| Brandywine | Pink |
| Yellow Pear | Yellow |
| Sun Gold | Orange |
| Jubilee | Orange |
| Kellogg’s Breakfast | Orange |
| Black Krim | Dark red to purple |
Hand Feel
On the other hand, I can use my hands to estimate the ripeness of the tomatoes. As a long-time gardener, I can touch the tomatoes to see if they are ripe. Nevertheless, if a ripe tomato is lightly squeezed, it should not be rock hard, and it should not be too soft and mushy either.
Days to Maturity
Each tomato variety has a specific number of days to maturity, detailed on the seed package or plant label that the tomato seeds came in. However, you shouldn’t rely solely on this. It’s equally important to emphasize the tomatoes’ color and feel.
Weather Considerations
If snow or other cold weather is expected, you may need to harvest your tomatoes early. So, if you are expecting cold weather, simply harvest them early. Those green tomatoes will ripen better indoors than in cold weather outdoors.
When to Remove Tomato Plants
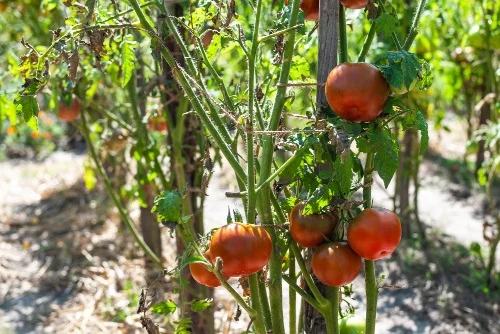
As the growing season winds down, several factors indicate removing your tomato plants is time. I will discuss them here, so stay tuned.
Temperature
When night temperatures consistently fall below 50°F (10°C), tomato plants begin to struggle. They stop setting new fruit, and existing fruit ripens more slowly.
Nevertheless, a light frost is usually a clear signal that the tomato growing season is over. If a hard frost is predicted, it’s time to harvest all remaining tomatoes, regardless of their ripeness.
Plant Health and Yield
Another reason to remove tomato plants is their health and productivity. If your plants show severe signs of disease, remove them instantly to prevent the spread to other parts of the garden.
Also, if your plants no longer produce significant amounts of fruit or the quality has declined, it’s time to remove them.
How to Remove Tomato Plants
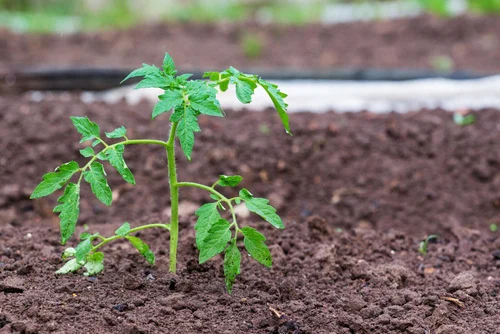
I have always had issues removing tomato plants. However, based on my years of experience, I have created a guide to help you quickly remove tomato plants. Let’s start with the materials you will need.
Materials Required
Here are the materials that you will require for removing tomato plants;
- Garden gloves
- Pruners
- Garden fork
- Compost bin
- Disposal bag
Step-By-Step Guide: How to Remove Tomato Plants
Here are the steps you need to follow to remove tomato plants successfully.
Step 1: Cutting around the plant
Wear your garden to protect your hands from dirt and possible irritants. Start by cutting around the tomato plants first to make them easy to get out. Use pruners and trim all the vines and branches. However, cut this plant to the main stem while keeping it at least 6 to 12 inches above the ground.
Step 2: Uprooting the tomato plant
Once the plant has been trimmed, it must be removed from the ground. Use a garden fork to loosen the ground around the base of your plant gently; place the fork at the 6-8-inch mark from the plant’s stem.
Using the fork as a lever, carefully pull the plant from the ground, ensuring the root ball stays as intact as possible. Then, inspect the soil for leftover root bits and remove them to avoid future problems with annoying worms or diseases.
Step 3: Proper Disposal
Supervision should be carried out when disposing of plant material, particularly if the plants have been affected by a disease. You can put the plants in the compost bin if they are healthy. However, I advise cutting them to smaller sizes for quick decomposition.
Nevertheless, if the plants look sick or unwell, it is recommended not to compost them. Instead, put them in disposable bags and put them in the dustbin to avoid transferring the disease.
Step 4: Preparing the Soil for Future Planting
After removing the tomato plants, preparing the soil for future planting is essential. Start by clearing all plant debris from the soil surface to lower the risk of pests and diseases. Then, add a coating of compost or well-rotted manure to enrich the soil.
FAQ
Let’s check out some commonly asked questions regarding the right time to harvest and remove tomato plants.
- How often should I check my tomato plants for ripeness?
Once your tomato plants start producing ripe fruit, you should check them every day or every other day. Tomatoes can ripen quickly. Thus, frequent checks allow you to harvest them at their peak flavor and texture.
- What do I do with green tomatoes if frost is approaching?
If frost is approaching, harvest all remaining tomatoes, even green ones. Green tomatoes can ripen indoors if placed in a warm, dry location. Nevertheless, you can also use green tomatoes in various recipes, such as fried or pickled tomatoes.
- Can I plant tomatoes in the exact spot next year?
I recommend planting tomatoes in a different spot year after year. Doing so can lead to soil depletion and an increased risk of diseases and pests. Thus, rotating your crops by growing tomatoes in a different location each year helps maintain soil health.
- Is it necessary to remove all tomato plants at the same time?
No, you don’t have to remove all tomato plants at once. Monitor each plant’s condition and remove it individually as it stops producing fruit, shows signs of disease, or is affected by cold weather. Overall, this allows you to maximize the yield from healthier plants.
Finale
In conclusion, removing tomato plants at the end of the season is a crucial step in maintaining a healthy and productive garden. By understanding the optimal time for harvest and following proper removal procedures, you can prevent disease, enrich your soil, and prepare for the next planting season.
Furthermore, with careful attention to these details, your garden will thrive year after year, yielding delicious, high-quality tomatoes. So embrace these best practices and look forward to a bountiful yield and a flourishing garden every season. Happy gardening!

